
Dokku in-depth tutorial - Your private PaaS on Amazon EC2
10 Oct 2013If you want complete control over your servers and at the same time the simplicity to deploy as easy as
git push server master Dokku will be your next favorite tool.
In this post I will walk you through the process of installing Dokku on a fresh Amazon EC2 instance running Ubuntu Server 13.04.
Set up your Amazon EC2 instance
Log in to your AWS console and go to EC2. From your dashboard click on “Launch Instance”. Under step one “Choose AMI” find “Ubuntu Server 13.04” and click on “Select”.

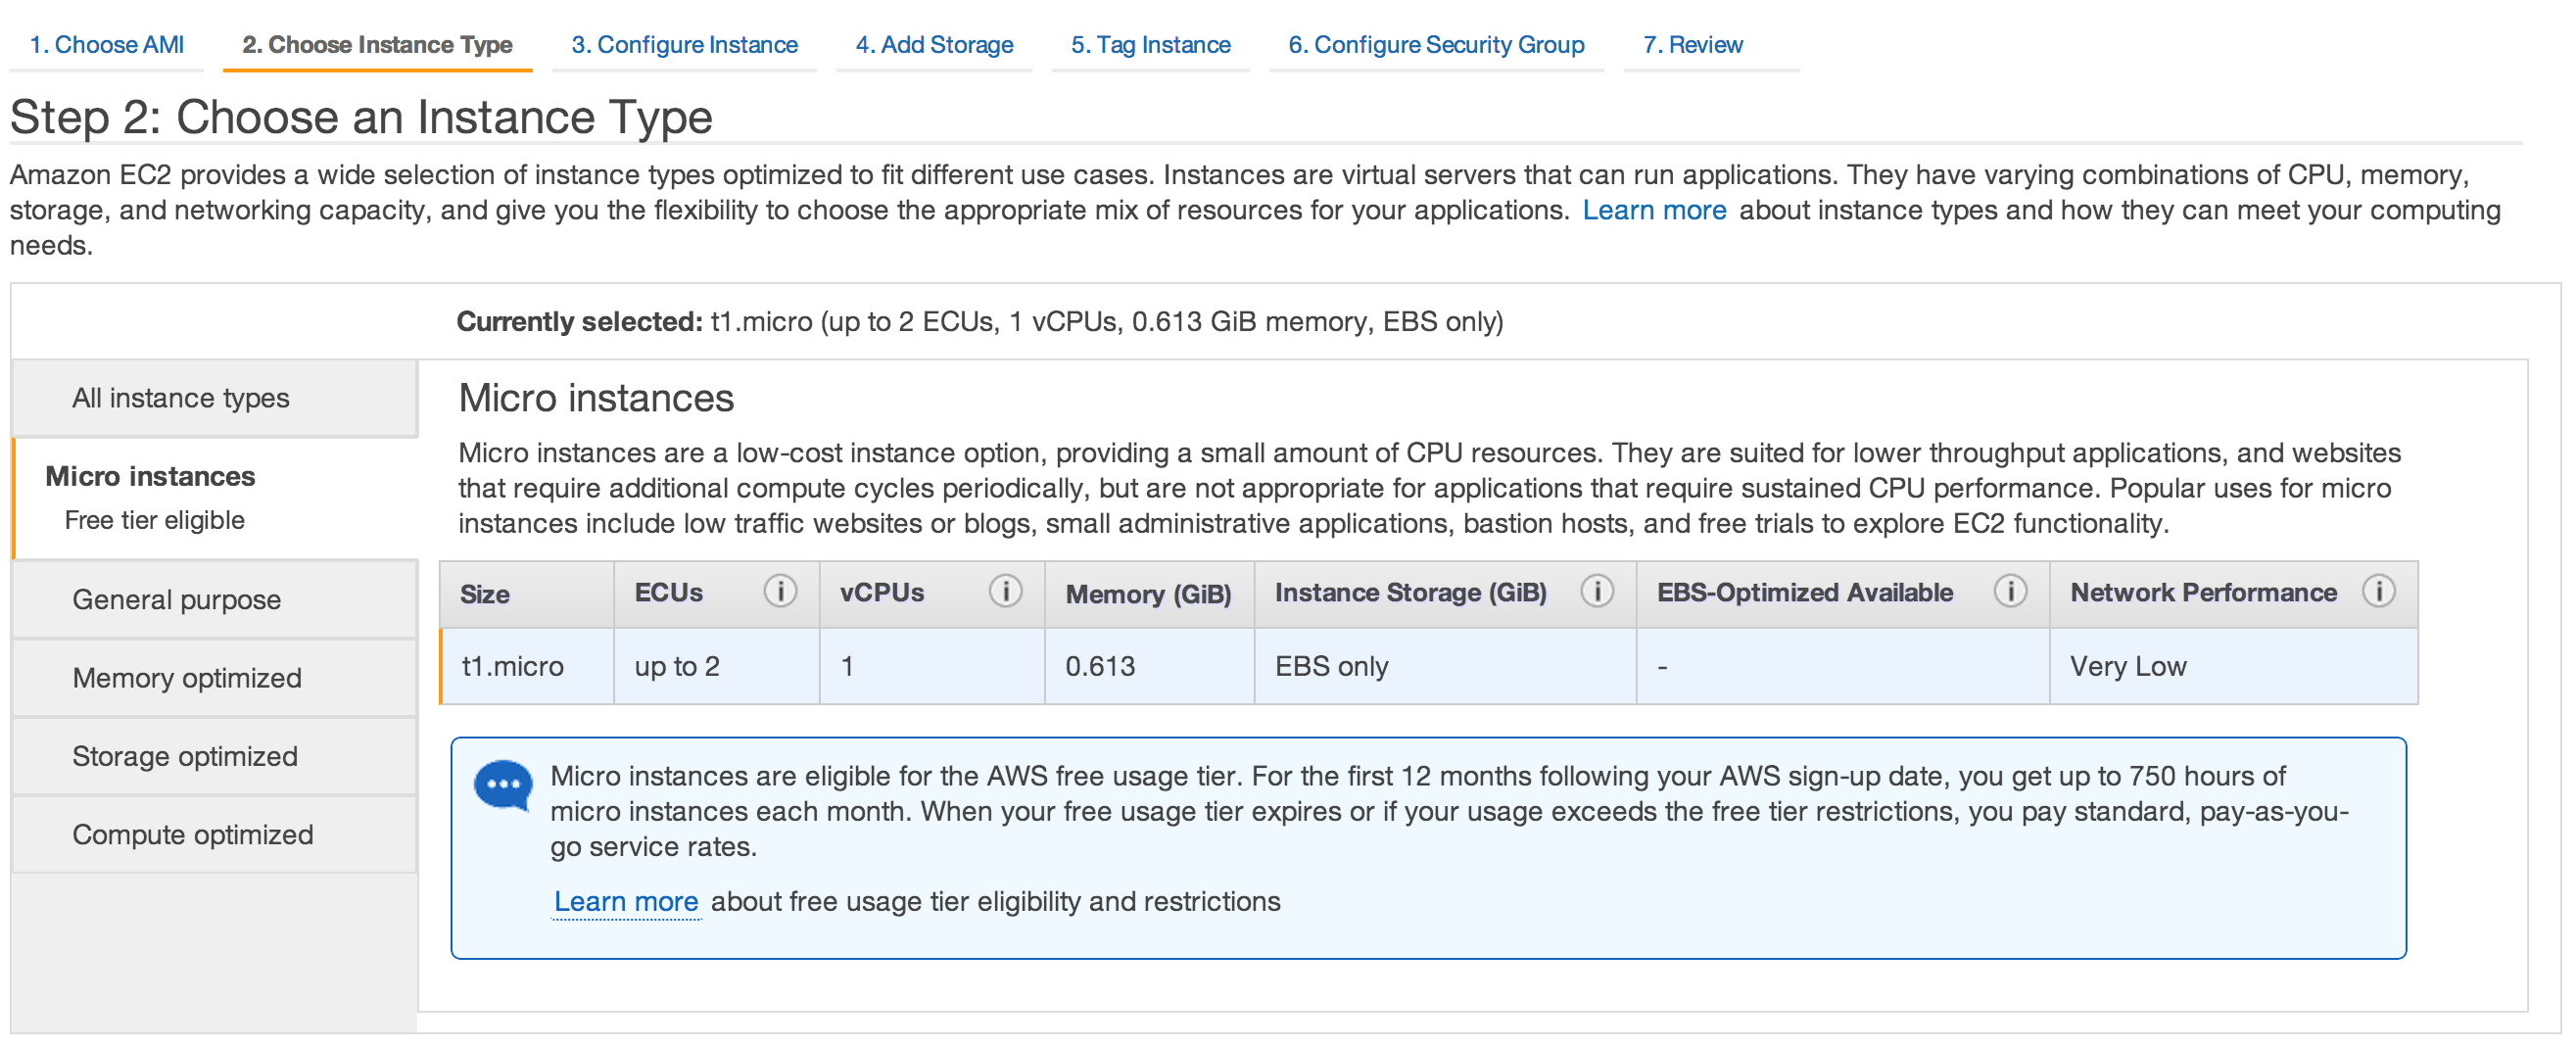
In step two “Choose Instance Type” select the micro instance. It has enough power for any small prototype and is eligible for the AWS free usage tier. If you need more RAM, disk space or CPU you can also select one of the other instances. For this post it doesn’t matter, as the following steps will be the same.
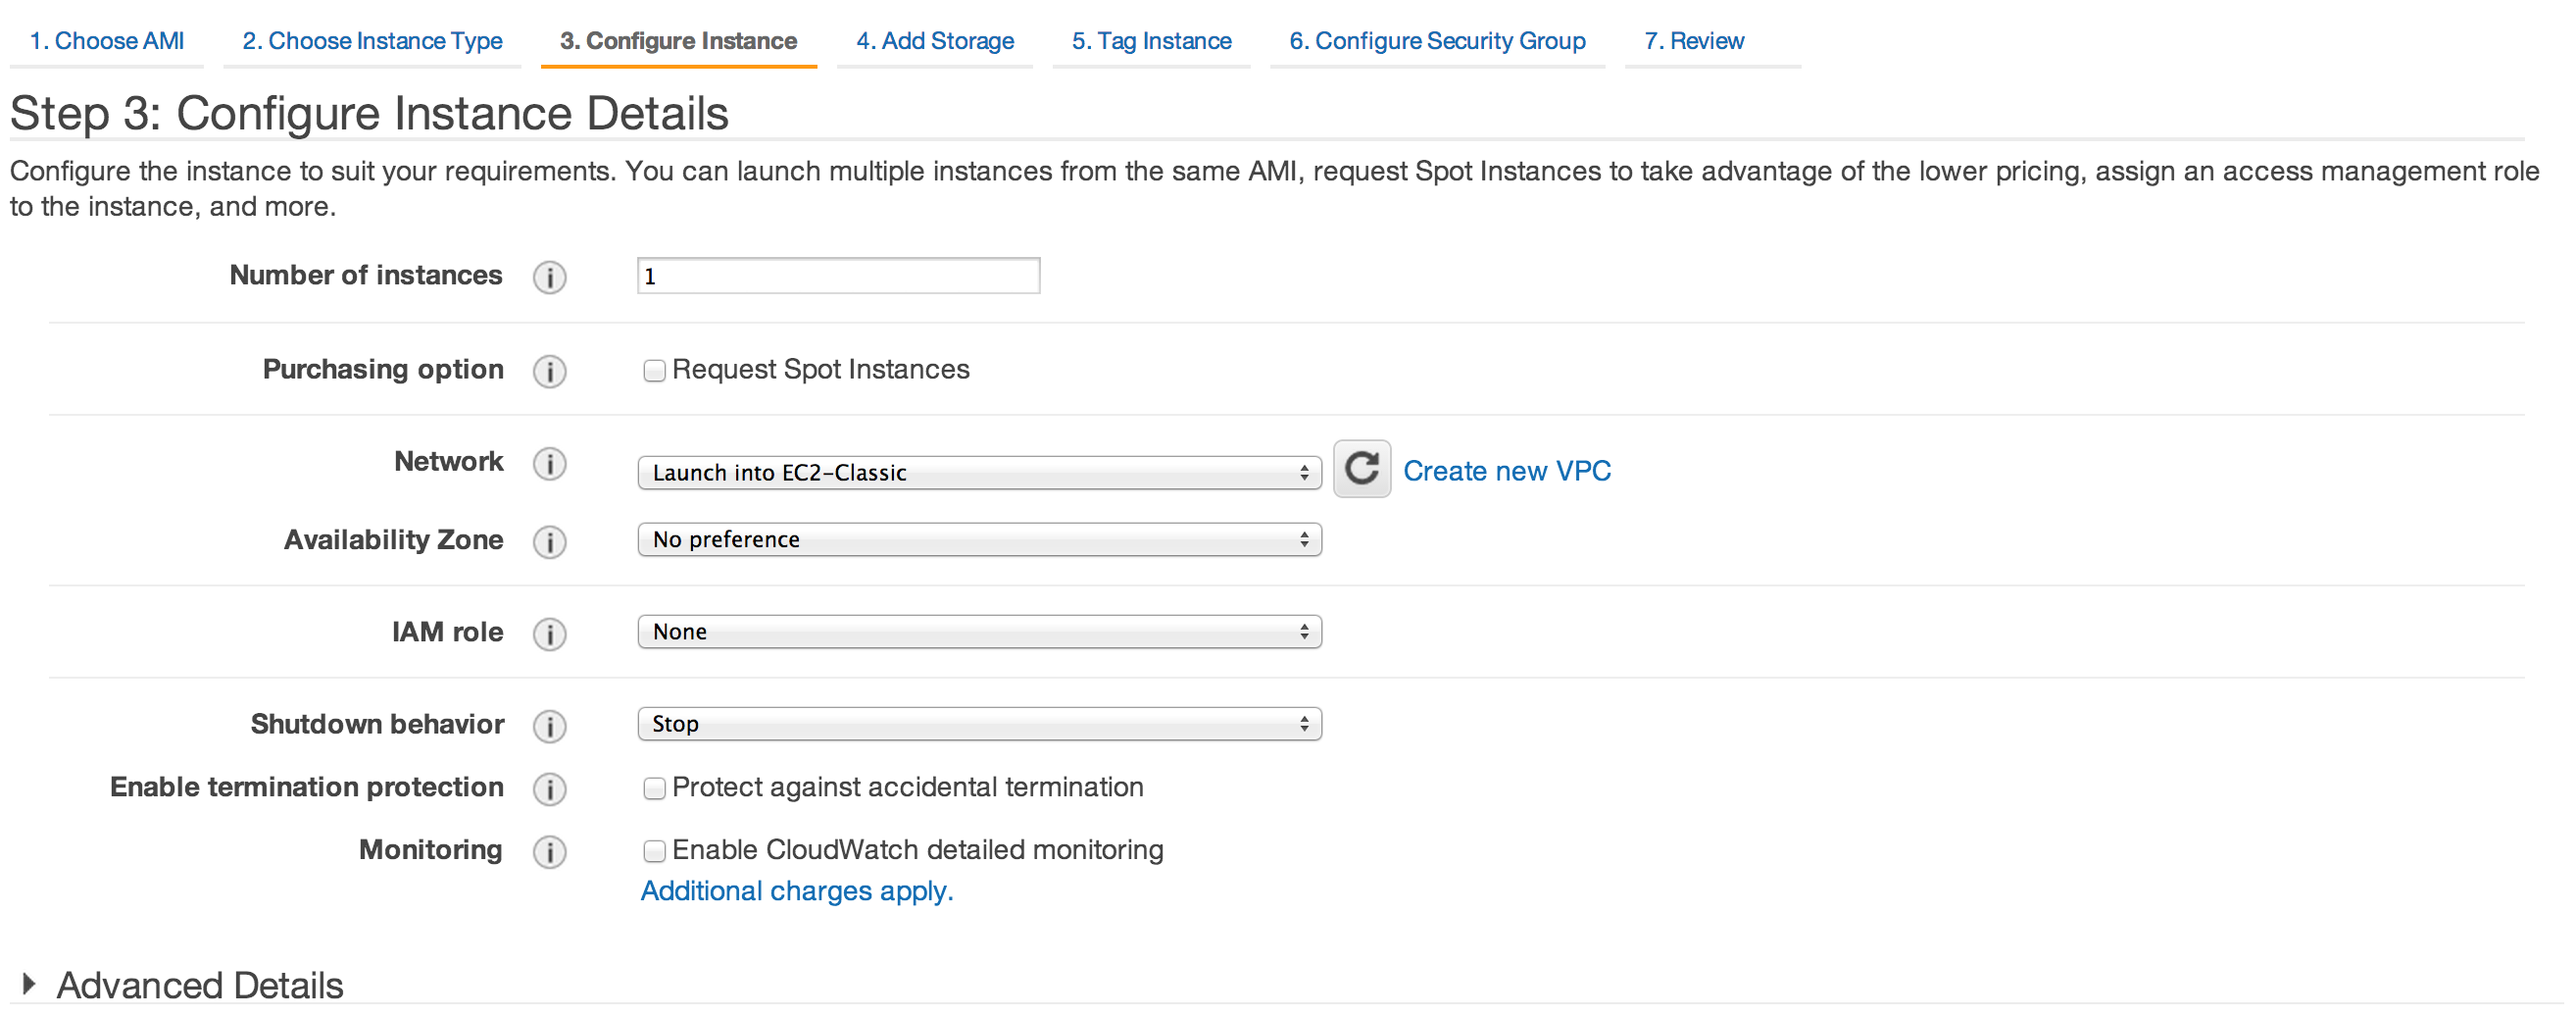
In step three “Configure Instance” I left everything as is.
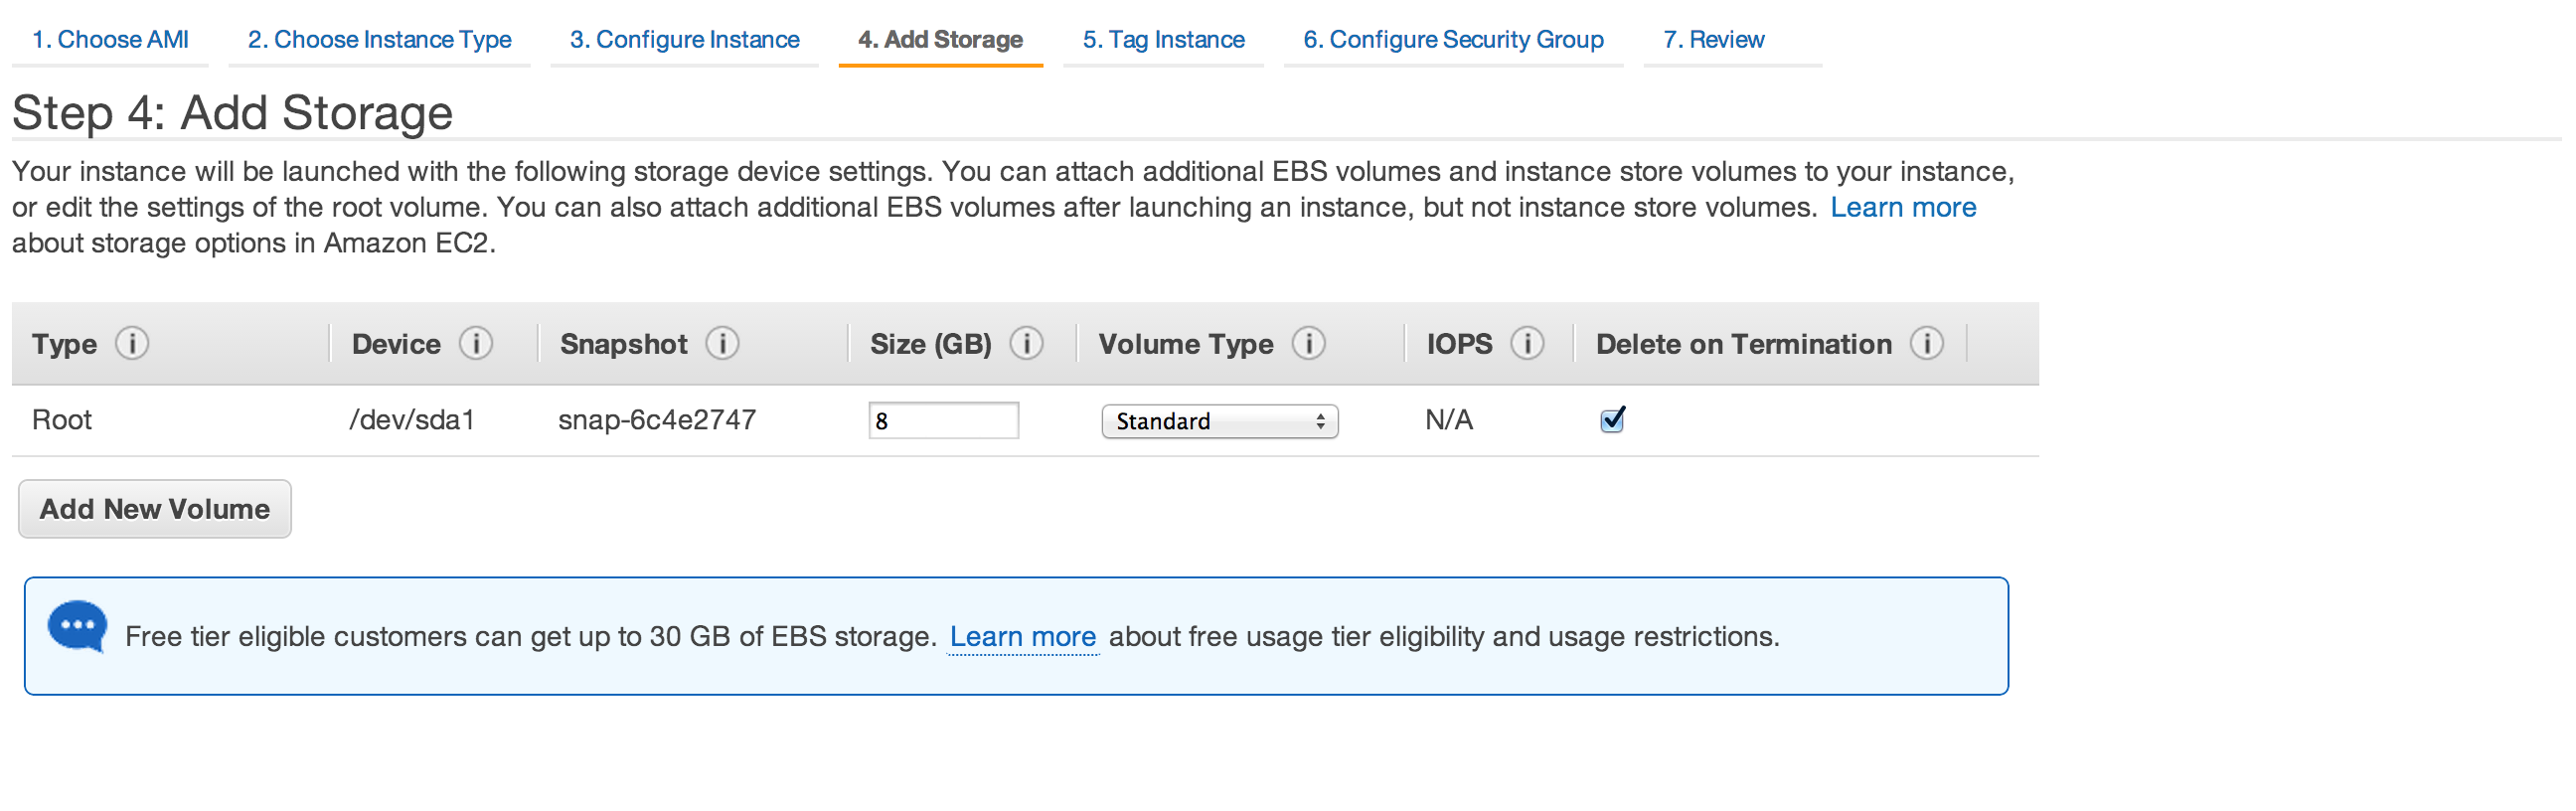
The same goes for step four “Add storage”. Usually you don’t need a lot of storage. For images, videos and other files I always use S3.
In step five “Tag Instance” give your instance a name. That makes it easier later on to find it in the list of all your instances. I chose “Node.js via Dokku”.

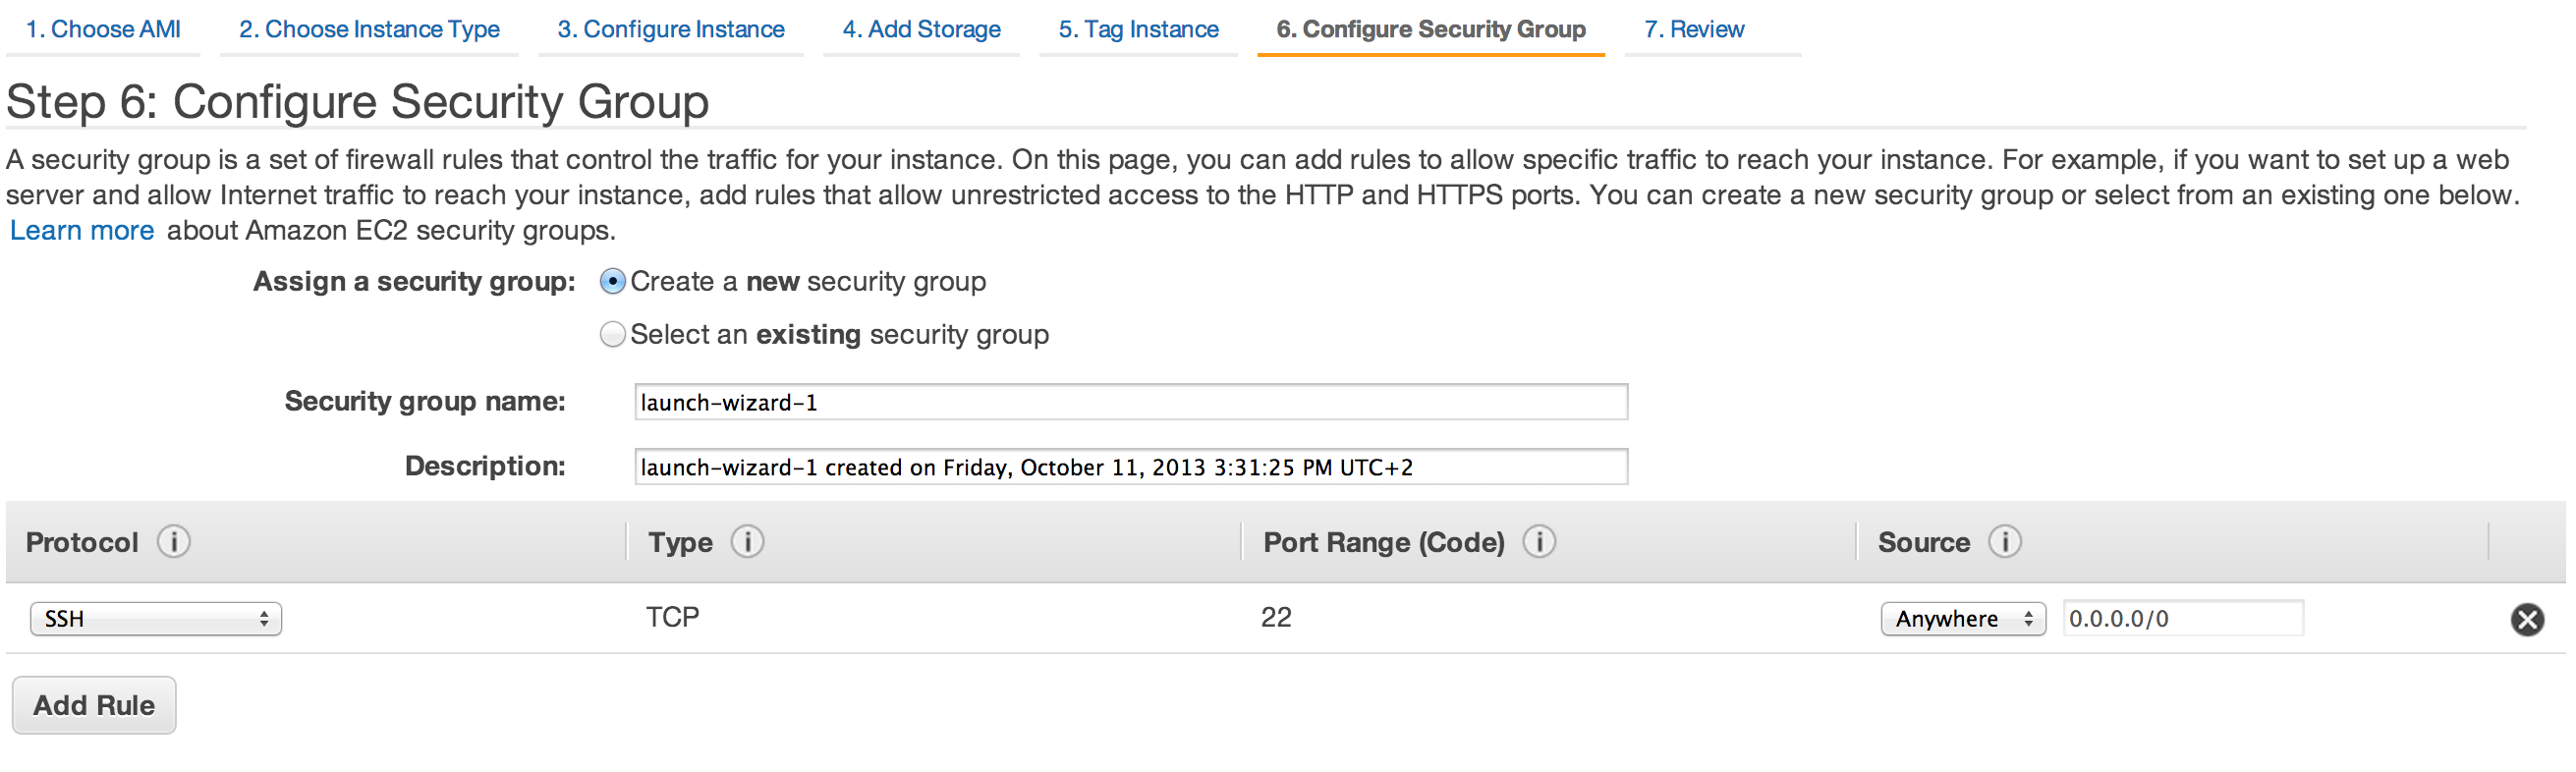
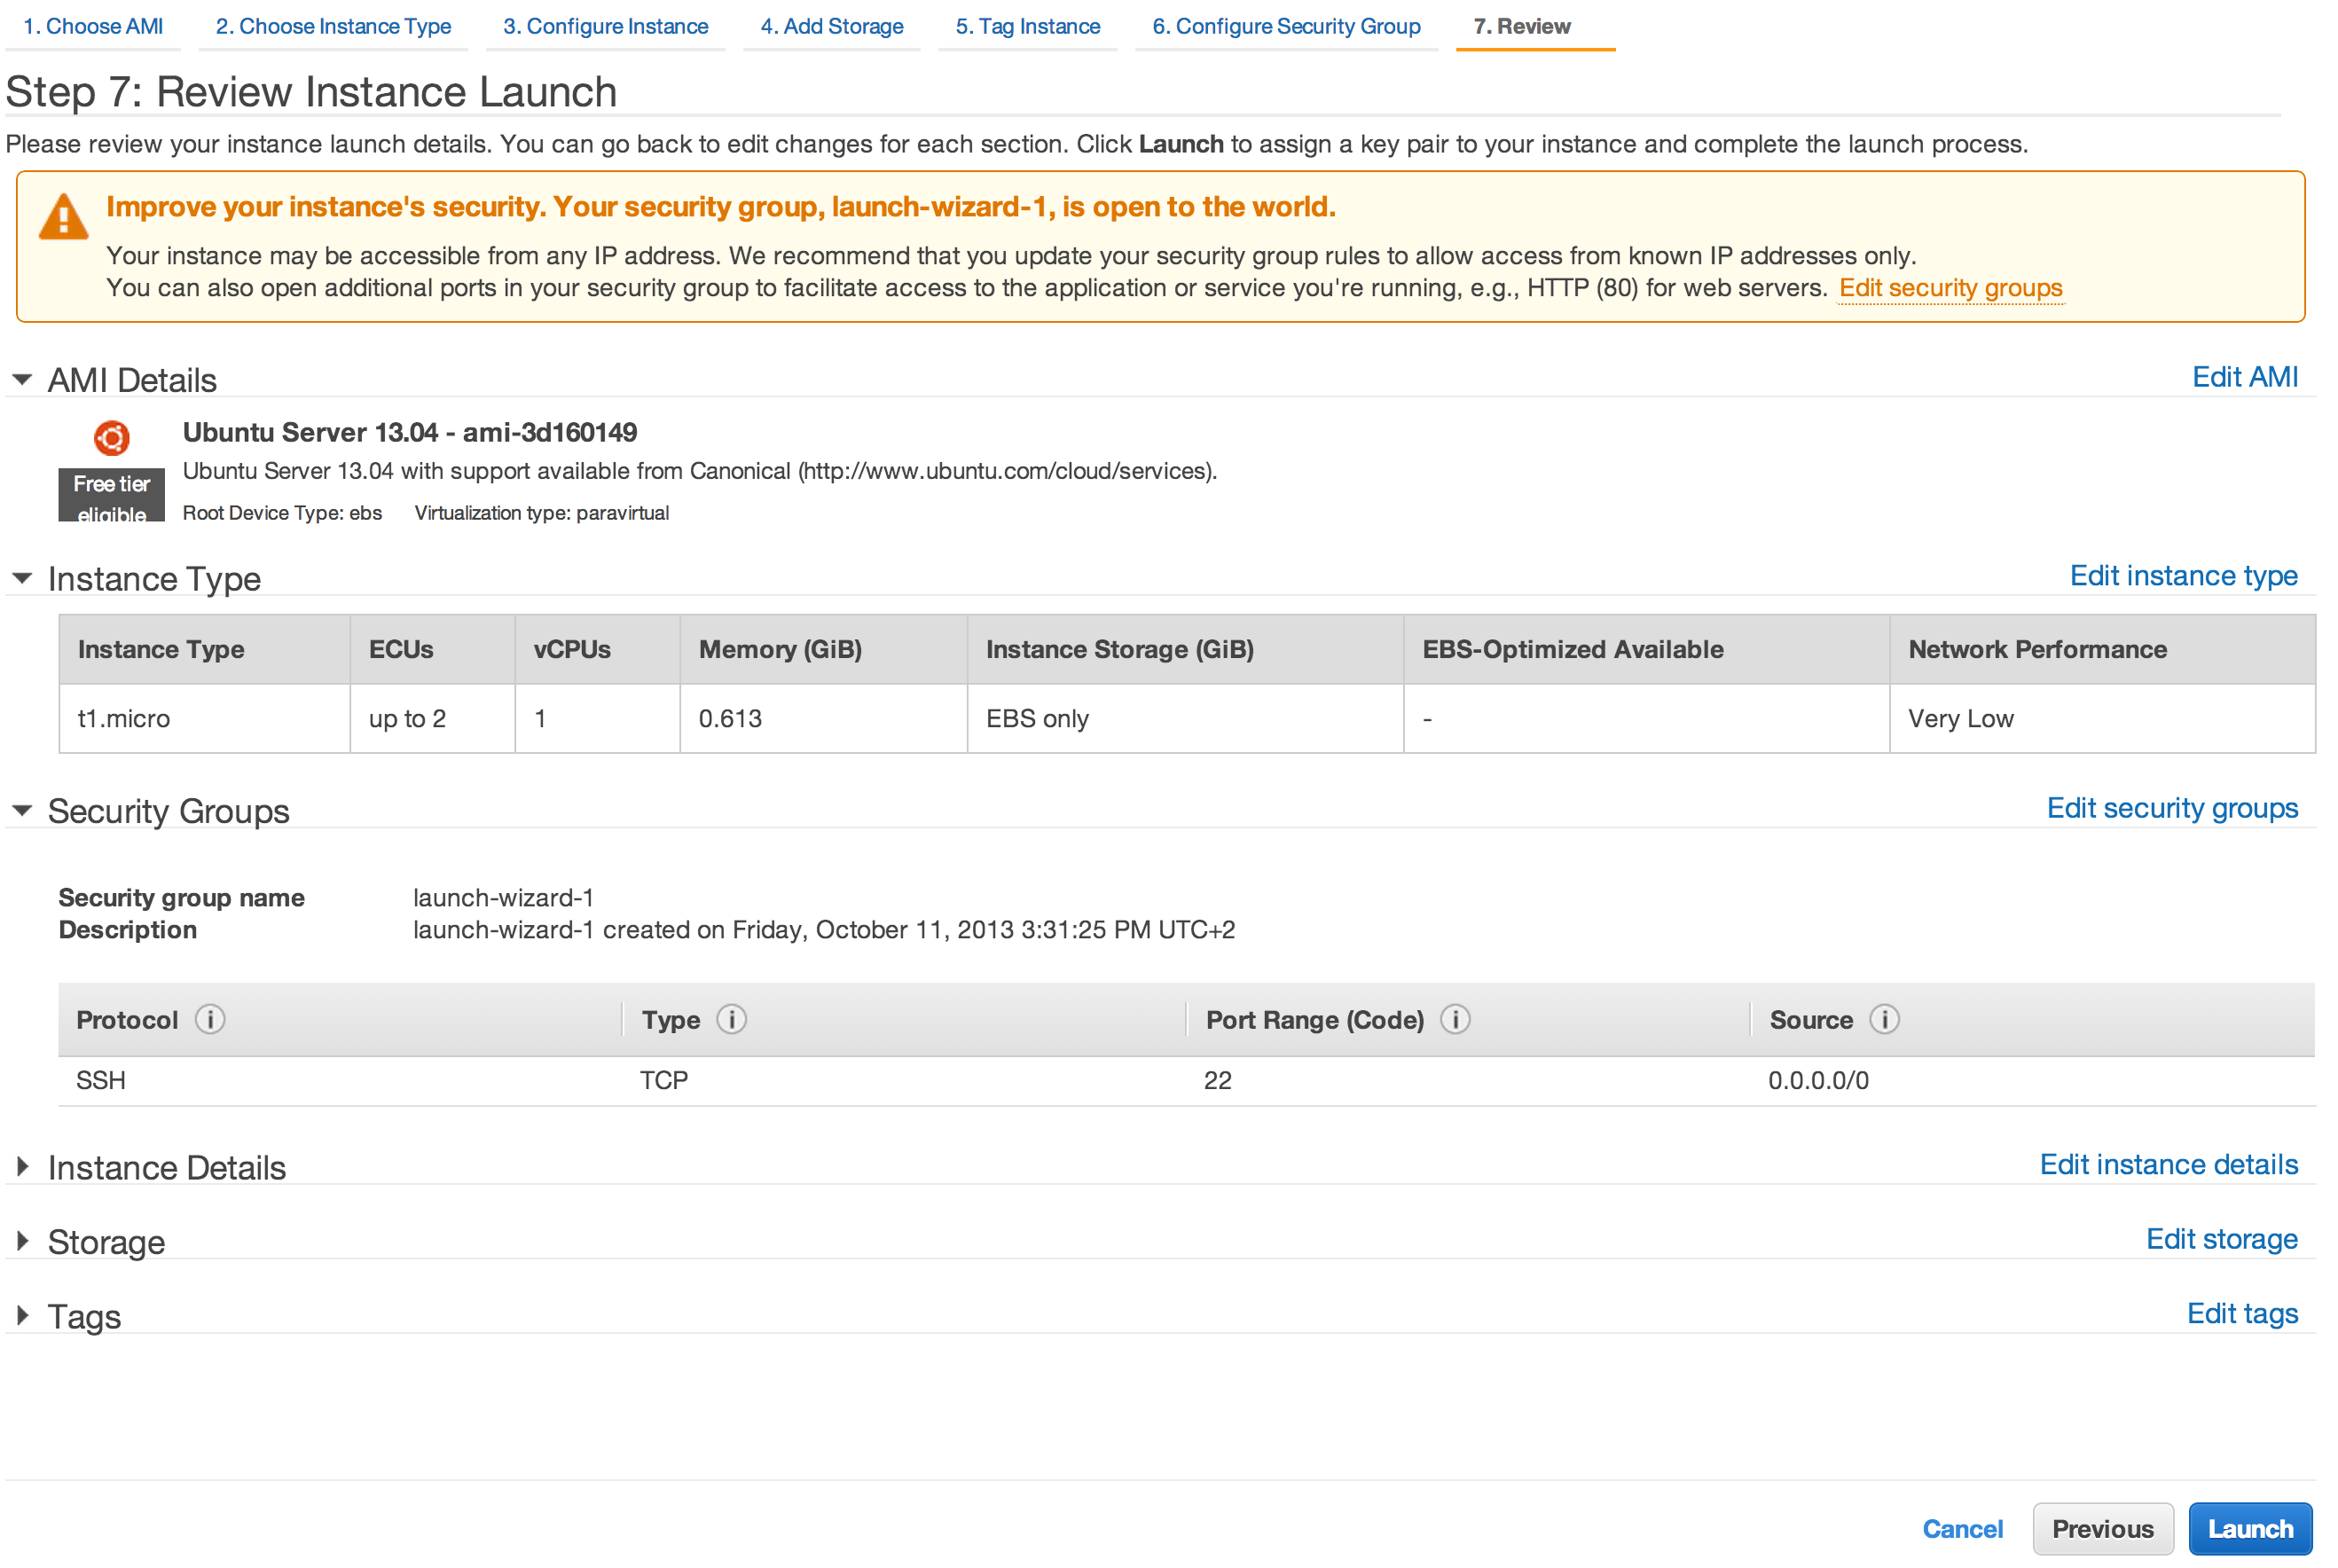
Leave everything as is in step six “Configure Security Group”. The wizard will create a new security group for your instance. In my case it is called “launch-wizard-1”. At the bottom you can see that only port 22 is open for SSH access. We will change this later on to access our instance through the web with a browser.
Last but not least check that everything is correct in step seven “Review”. Click on “Launch” to start your fresh instance.
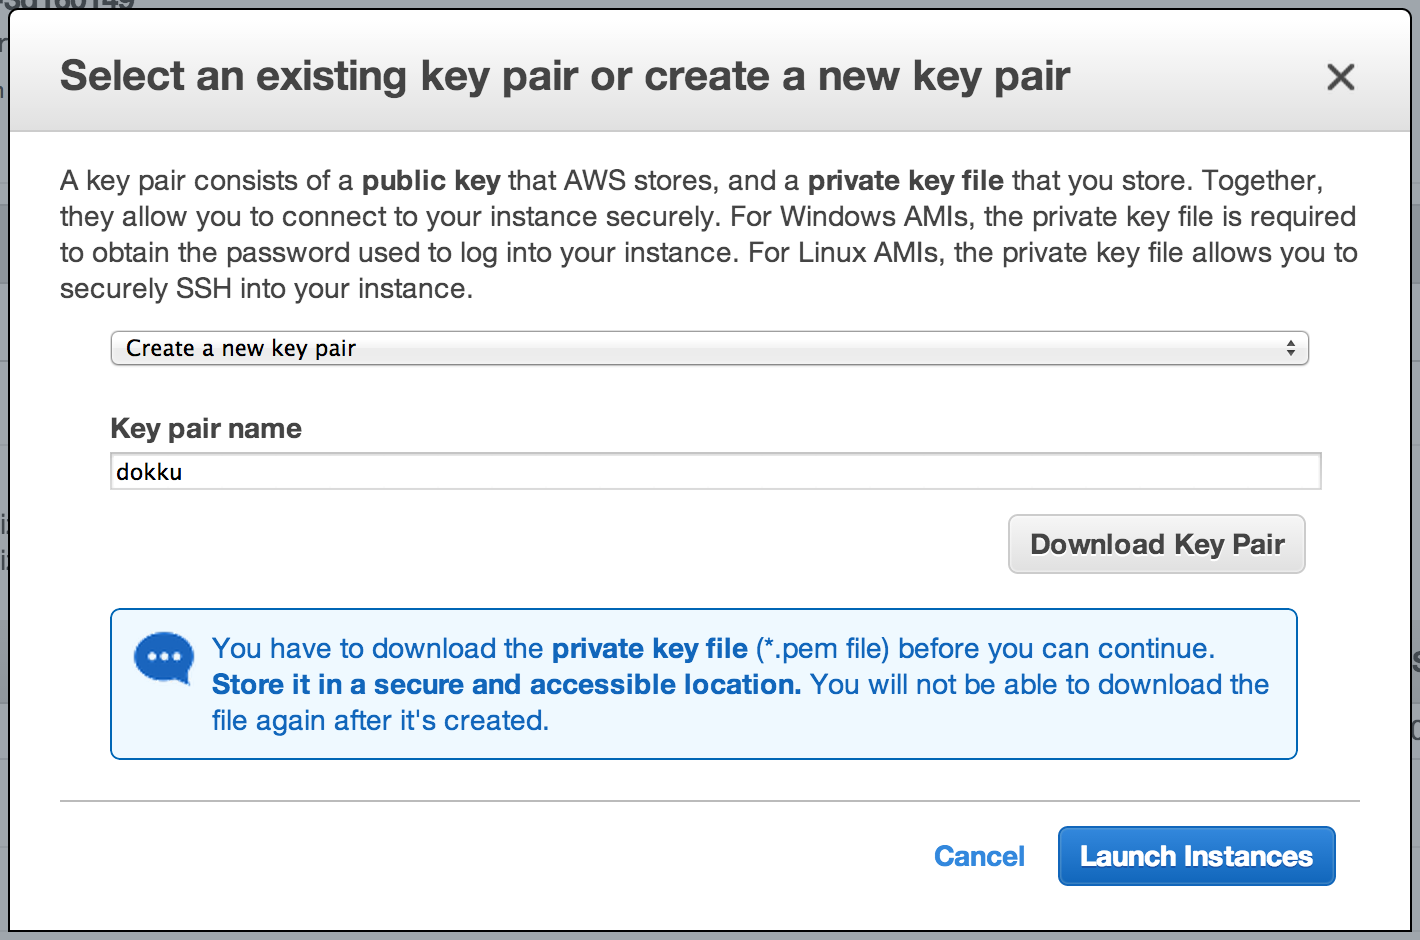
To connect to this instance via SSH you need to create a key pair (or use an existing one if you have). I named mine “dokku” and downloaded the “dokku.pem” file.
Et voilà you’ve created a new instance, downloaded the necessary key pair and after a short amount of time you’ll see the instance within your list of instances with a green status indicator that says “running”. That concludes the first section and in the next one we will connect to the instance and install Dokku.

Install Dokku
First of all connect to your server via SSH. I’ll simply use the terminal but you can use any tool you want. Select the “Node.js via Dokku” instance from the list and on top of the page click on “Connect”. A popup window will open with further instructions.

At the top “A standalone SSH client” should be selected. Open your terminal and change the working directory to the folder
where you put the previously downloaded “docker.pem” file. Then run chmod 400 dokku.pem to change the permissions for your
key pair. Afterwards copy the line under “Example” and paste it into your terminal. Don’t worry about the message that the
authenticity cannot be established. Simply answer the prompt with “yes” and press enter.

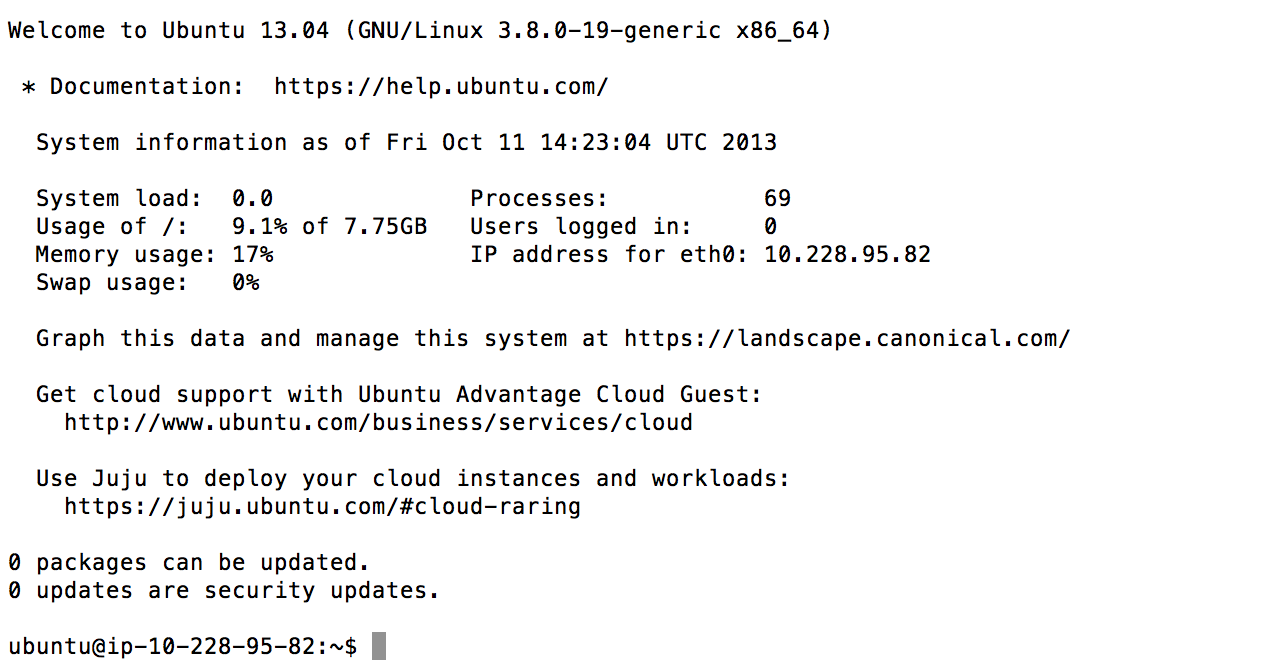
Afterwards you should see a welcome message from your Ubuntu server.
Now that you are connected to your server we can install Dokku. Follow the instructions from the GitHub page.
Run wget -qO- https://raw.github.com/progrium/dokku/master/bootstrap.sh | sudo bash. That will install all the necessary tools needed to run Dokku.
The whole process will take about five minutes and at the end you will see a message that asks you to copy
your public key to the server.

Make sure you replace root@ip-10-228-95-82 with the username and address you’ve used before to connect to your server.
Then you have to run gitreceive upload-key progrium as an admin with sudo. It doesn’t say it in the success message
but on GitHub under Configuring it is stated. Finally you can replace
progrium with any username you want. It will be the username that is used by git. I simply chose dokku.

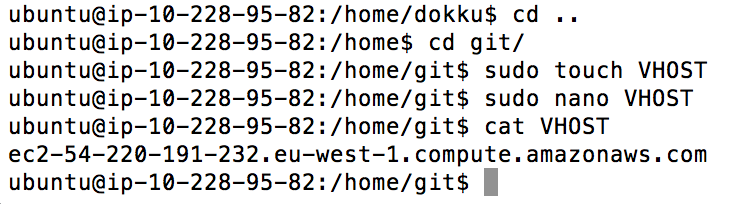
The last step to make Dokku work is to create a VHOST file in /home/git/. On your server change the directory to /home/git/
and run sudo touch VHOST to create the file and sudo nano VHOST to open the file with the nano editor. Then paste
the public DNS of your instance into this file and close it with CTRL+X. Afterwards run cat VHOST to make sure the
DNS was saved correctly.
That’s it! Your server is ready, Dokku is ready and the only thing left is our app.
Node.js app
We will simply use the Express starter app and run it on our server. In a terminal on your local
computer run express and npm install to create the app. As Dokku is inspired by Heroku every app
needs a Procfile to tell our server which commands it should run to start our express app. Usually we run node app.js to start
our app and therefore we have to write the same into the Procfile. Run touch Procfile to create it,
echo web: node app.js > Procfile to put the right command into the file and cat Procfile to verify that everything
worked as expected.

It is also recommended to create a .gitignore file and to put the node_modules/ directory inside. We don’t have
to copy this folder to our server as Dokku will run npm install which will install all required modules from our package.json.
Run touch .gitignore and echo node_modules/ > .gitignore to set up this file.

Now you are ready to deploy. Initialize git with git init, add all the files with git add . and write your first
commit message git commit -m "init". To deploy the code to our server we have to set the remote target for git. Run
git remote add [name] git@[DNS]:[appname] to add our remote server. For [name] I chose aws, for [DNS] I copied
my public DNS from the Amazon EC2 dashboard and as [appname] I selected node-js-example.

Now simply run git push aws master to deploy the app to our server. You will see a success message that says that our app
is available under some subdomain. Unfortunately that doesn’t work and we have to access it via the public DNS and its
public port.
To see the port of our app connect to the server via SSH and run sudo docker ps. You should see one running process
and at the very right you’ll see the public port of our app.

You might remember from the beginning where we talked about the security groups and how we will get back to this topic later on. Well that moment is now. In order to access the instance from the web you’ll have to open the port the app is running on. In the AWS console click on “Security Groups” on the left side and select the one we used for our instance. In my case it was “launch-wizard-1”. At the bottom click on “Inbound” and enter your port in “Port range”. For me it was port 49153. Click on “Add Rule” and “Apply Rule Changes” to save the settings.

Now copy the public DNS of your server and afterwards the port of your app to the browser’s address bar and see the Express app running. Yeah!

Conclusion
We now have a server running our app in an isolated Docker image. Through SSH we have complete control over the app
and we can install any additional packages we want. Using Docker we can easily create more apps on the same server without
interfering with running processes. At the same time we are able to deploy new code as easy as git push aws master
and see the changes live within a short amount of time. Dokku and Docker are under heavy development but it’s definetely worth
to check them out. They really make live easier. Big thumbs up for the creators and the community helping with the
development.